

Tiny evening bag, size 22 x 17 cm
 Material:
- 1,5 m viscose lining or remnants
- Crochet hook, size 4,5
- Polyester thread
- 1 m cord ribbon
- Remnants of thin fabric (silk, organdy, chiffon, musseline, lace...)
- Lining fabric, app. 25 x 40 cm
- 1 push button
Instruction:
Iron the viscose fabric.
Cut out stripes of about 1,5 cm width.
Sew the stripes and roll them to a ball --> this will be your crochet yarn.
See also picture instruction under this link:
http://craftrebella.blogspot.co.at/2015/01/instead-of-fur-use-viscose-crochet.html#more
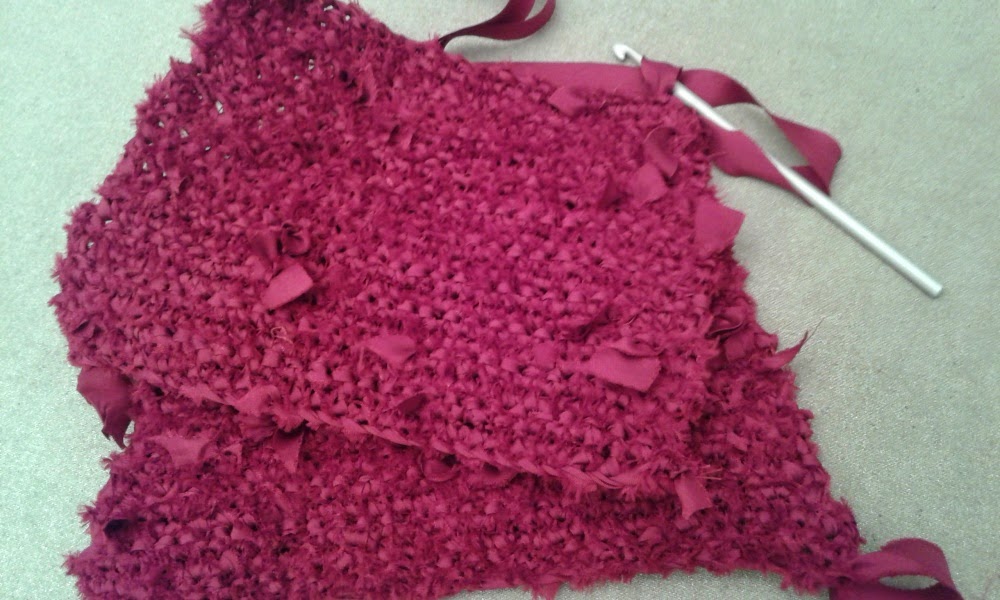
Start with 30 ch sts, then crochet 28 rows in sc, but every 9 nd row leave one sc uncrocheted on each side --> after 28 rows you will have 24 st.
Now one part of the bag is done.
Work the 2nd part of the bag the same way.
Sew the two crocheted parts on the reverse side together, turn the work and iron it (use steam).
Cut the lining with seam allowance for the bag - 2 layers, pin them, sew them.
Put the lining into the bag, pin it, and sew it --> foto.

Fix the cord ribbon on the left side f the bag and sew it on properly.

Then make a knot into the cord ribbon --> foto.

Make a losely knot on the other side of the cord ribbon, sew it on the right side of the bag, pull the knot tight.
Sew on a push button inside the bag - in the middle.
Now your bag is finished.

You can decorate the bag with various remnants, i.g silk, lace, chiffon, musseline, organdy,...
Iron the fabrics, cut them into stripes.

Pin the stripes of fabric on each upper side of the bag and sew them on.

Make a few bags matching to your evening dresses.
 Material:
- 1,5 m Viscose Futter oder Reste
- Häkelnadel Nr. 4,5
- PolyesterFaden
- 1 m Kordel
- Dünne Stoffreste (Chiffon, Seide, Musseline, Spitze, Organza,....)
- Futterstoff, ca. 25 x 40 cm
- 1 Druckknopf
Anleitung:
Das Viscose Material bügeln, diagonal in ca. 1,5 cm breite Streifen schneiden
Die Streifen mit der Nähmaschine aneinander nähen und zu einem Knäuel aufrollen --> das ist das Häkelgarn
Fotos dazu gibt es unter diesem Link:
http://craftrebella.blogspot.co.at/2015/01/instead-of-fur-use-viscose-crochet.html#more
30 LuftM anschlagen, dann 28 R. fM häkeln, jedoch in jeder 9. Reihe beidseitig 1 M unbehäkelt lassen (=Abnahme). Nach 28 R sind noch 24 M übrig, nun die Arbeit abschließen.
Das 2. Taschenteil genauso arbeiten.
Die beiden gehäkelten Teile auf der linken Seite zusammennähen, die Arbeit wenden und bügeln (Dampf).
Das Futter für die Tasche mit Nahtzugabe zuschneiden - 2 Teile, diese zusammennähen.
Das genähte Futter in die Taschen geben, am Rand feststecken und mit der Nähmaschine annähen.
Danach die Kordel auf der linken Seite der Tasche gut festnähen, einen Knoten in die Kordel machen (Foto)
Auf der anderen Seite der Kordel einen losen Knoten machen, die Kordel an der Tasche festnähen und den Knoten stramm ziehen.
Auf der Innenseite der Tasche mittig einen Druckknopf anähen.
Für die Verzierung Reste von Spitze, Seide, Organza, Chiffon oder Musseline bügeln, in Streifen schneiden und mit der Hand auf beiden Oberkanten der Tasche festnähen.

The design and instruction are only for private use.
No comments:
Post a Comment
Wenn du auf meinem Blog kommentierst, werden die von dir eingegebenen Formulardaten (und unter Umständen auch weitere personenbezogene Daten, wie z. B. deine IP-Adresse) an Google-Server übermittelt. Mehr Infos dazu findest du in meiner Datenschutzerklärung: https://www.craftrebella.com/p/blog-page_12.html.
When you comment on my blog, the form data you submit (and possibly other personal information, such as your IP address) may also be sent to Google servers. More information can be found in my privacy policy: https://www.craftrebella.com/p/blog-page_12.html.